Installing Your First Podman Conatiners
Installing your first container using NGINX and setup a Podman network stack to run Wordpress with MySQL and phpMyAdmin.


In this tutorial we will install a simple NGINX conatiner and then after that we will install a set of applications to run Wordpress.
For the first step we will install NGINX, its a popular web server and will showcase the speed of containers as well as some absic command functions when starting containers in podman.
The format of this tutorial will show the code and under that i will explain what different parts do. Its important to follow this and read the notes under each code snippet.
NGINX Container
In your terminal in OpenSUSE MicroOS (which is what im using, you can use what ever system you like as long as Podman is installed)
sudo podman run -d --name my-nginx -p 8080:80 docker.io/library/nginx:latestpodman run: This is the command to run a container with Podman.-d: This flag stands for "detached mode." It means that the container will run in the background and won't occupy your current terminal session.--name my-nginx: This flag assigns a name to the container. In this case, the container will be namedmy-nginx.-p 8080:80: This flag maps port 80 of the container to port 8080 on the host system. It means that traffic coming to port 8080 on the host will be forwarded to port 80 of the container.docker.io/library/nginx:latest: This is the name of the Docker image that Podman will use to create the container. In this case, it's pulling the latest version of the NGINX image from the Docker Hub repository located atdocker.io.
So, when you run this command, Podman will create a new container named my-nginx using the NGINX image from Docker Hub. The container will be running NGINX, and you'll be able to access it by navigating to http://localhost:8080 in your web browser. Any traffic sent to port 8080 on your host system will be forwarded to port 80 inside the NGINX container.
You can also go to this via the ip address of the container host. For me this is 10.10.1.255:8080

If you get the following page when you type in your IP Address then it works. Good job.
We will not dive more in to managing NGINX at the moment or accessing files for that. We will leave that for a later tutorial. For now we are going to dive more in to setting up more containers.
Podman Networking
In traditional server setups where everything is on the same server, communication between different services (like web servers, databases, etc.) typically happens through localhost or the server's IP address. Each service listens on a specific port, and other services connect to it using that port.
In Podman, networking works similarly, but with a few differences:
- Container Isolation:
Each container in Podman is isolated, meaning it has its own file system, process space, and network stack. This isolation ensures that containers don't interfere with each other and provides security. - Podman Networks:
Podman allows you to create virtual networks to connect containers. Containers within the same network can communicate with each other using their container names as hostnames. This makes it easy to set up complex applications composed of multiple containers, as they can communicate with each other using familiar hostnames. - Bridge Networking:
By default, Podman sets up a bridge network (podman0) when it starts. Containers launched without specifying a network explicitly are attached to this bridge network. This allows them to communicate with each other and with the host system. - User-defined Networks:
You can create your own user-defined networks using Podman. This gives you more control over how containers are connected and allows you to isolate different groups of containers. - Port Mapping:
Just like in traditional server setups, you can map ports from the container to the host system using Podman. This allows external services to communicate with containers using the host's IP address and a specific port.
In summary, Podman networking allows containers to communicate with each other using container names as hostnames within virtual networks. This simplifies communication between containers and makes it easy to set up complex multi-container applications.
Podman UI in Cockpit
While doing this tutorial you can also check every so often with the Cockpit UI if your using that to se running containers. Its a good way to see if the containers you run actually start up correctly.
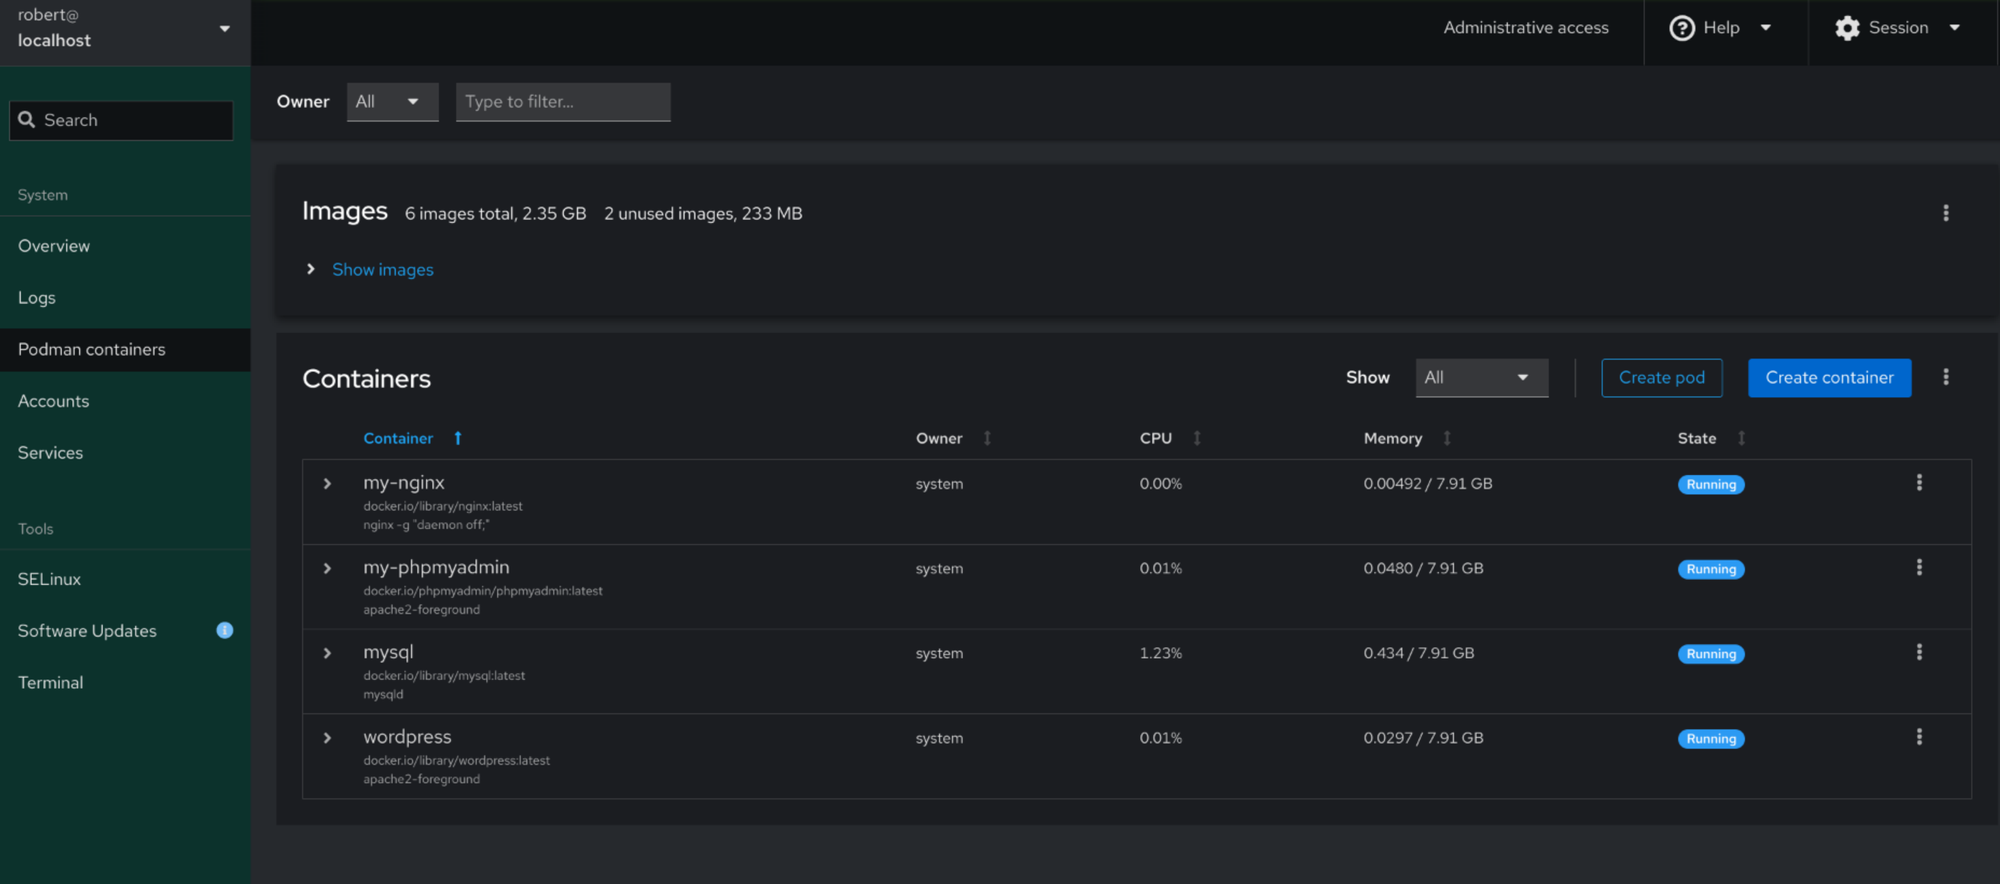
As you can see in the image, i have 4 containers running. The end result should be the same for you.
Setting up MySQL, PHPMyAdmin & Wordpress
To get Wordpress working we first need MySQL and also to create a database for Wordpress to connect too. As mentioned in the previous segment regarding networks, we can create a network for these applications to chat to each other.
We will first start with creating a network for the Wordpress related stack and then each application.
Creating A Network
sudo podman network create wordpress_networkpodman network create: This is the command to create a new network with Podman.wordpress_network: This is the name of the network being created. You can choose any name you like for your network.
So, when you run this command, Podman will create a new network named wordpress_network. This network will be separate from the default bridge network (podman0) and any other user-defined networks you may have created. You can then connect containers to this network using the --network flag when running containers, allowing them to communicate with each other over this network.
Installing MySQL
sudo podman run -d --name mysql --network wordpress_network -e MYSQL_ROOT_PASSWORD=password123 mysql:latestpodman run: Command to run a container with Podman.-d: Runs the container in detached mode, meaning it runs in the background.--name mysql: Assigns the name "mysql" to the container.--network wordpress_network: Connects the container to the "wordpress_network" network, enabling communication with other containers in the same network.-e MYSQL_ROOT_PASSWORD=password123: Sets an environment variable named "MYSQL_ROOT_PASSWORD" with the value "password123". This variable is used to set the root password for MySQL.mysql:latest: Specifies the MySQL Docker image to use and pulls the latest version from Docker Hub if it's not already available locally.
This command creates a detached MySQL container named "mysql," sets its root password to "password123," and connects it to the "wordpress_network" network. This setup allows other containers connected to the same network to communicate with the MySQL container.
Installing PHPMyAdmin
sudo podman run -d --name my-phpmyadmin -p 8083:80 --network wordpress_network -e PMA_HOST=mysql -e PMA_USER=root -e PMA_PASSWORD=password123 phpmyadmin/phpmyadmin:latestpodman run: Command to run a container with Podman.-d: Runs the container in detached mode, meaning it runs in the background.--name my-phpmyadmin: Assigns the name "my-phpmyadmin" to the container.-p 8083:80: Maps port 80 of the container to port 8083 on the host system, allowing access to phpMyAdmin via port 8083 on the host.--network wordpress_network: Connects the container to the "wordpress_network" network, enabling communication with other containers in the same network.-e PMA_HOST=mysql: Sets an environment variable named "PMA_HOST" with the value "mysql", specifying the hostname of the MySQL container to connect to.-e PMA_USER=root: Sets an environment variable named "PMA_USER" with the value "root", specifying the MySQL user to use for authentication.-e PMA_PASSWORD=password123: Sets an environment variable named "PMA_PASSWORD" with the value "password123", specifying the MySQL password to use for authentication.phpmyadmin/phpmyadmin:latest: Specifies the phpMyAdmin Docker image to use and pulls the latest version from Docker Hub if it's not already available locally.
This command creates a detached phpMyAdmin container named "my-phpmyadmin," which is accessible on port 8083 of the host system. It's configured to connect to the MySQL container named "mysql" using the specified root credentials.
I have mapped PHPMyAdmin to 8083 on the host as i want to use wordpress on 8082 and we already used 8080 for NGINX.
The password you input here is the one created for MySQL. Letting you access the databases via PHPMyAdmin.
You should be able to connect to phpmyadmin via the ip address of the host and the port we specified. which for me is: 10.10.1.255:8083
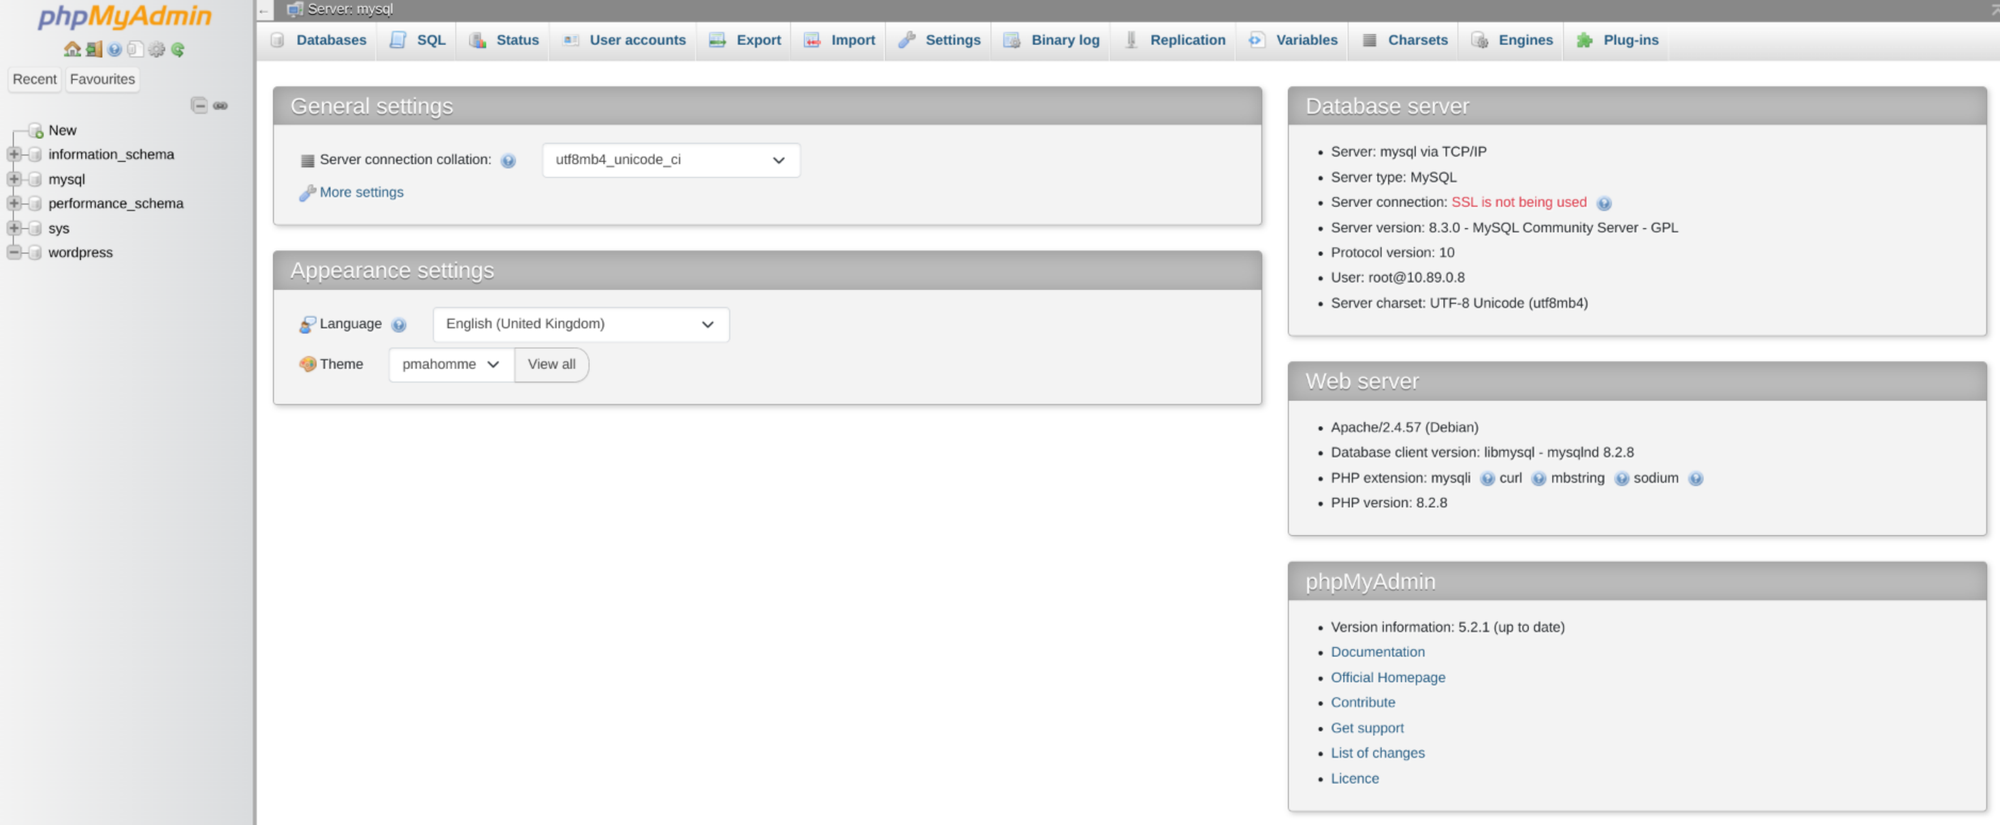
Creating A Database
We now need to create a database for wordpress to use.
Once you have logged in to phpMyAdmin then you can simply click on the new button on the left hand side. Simply put in a name for the database and hit create.
Thats it!
Installing Wordpress
sudo podman run -d --name wordpress --network wordpress_network -p 8082:80 docker.io/library/wordpress:latestpodman run: Command to run a container with Podman.-d: Runs the container in detached mode, meaning it runs in the background.--name wordpress: Assigns the name "wordpress" to the container.--network wordpress_network: Connects the container to the "wordpress_network" network, enabling communication with other containers in the same network.-p 8082:80: Maps port 80 of the container to port 8082 on the host system, allowing access to WordPress via port 8082 on the host.docker.io/library/wordpress:latest: Specifies the WordPress Docker image to use and pulls the latest version from Docker Hub if it's not already available locally.
This command creates a detached WordPress container named "wordpress," which is accessible on port 8082 of the host system. It's connected to the wordpress_network network, allowing it to communicate with other containers in the same network, such as the MySQL and phpMyAdmin containers.
Once this is installed, you should be able to reach it via the ip address of your host and the port number.
For me is: 10.10.1.255:8082
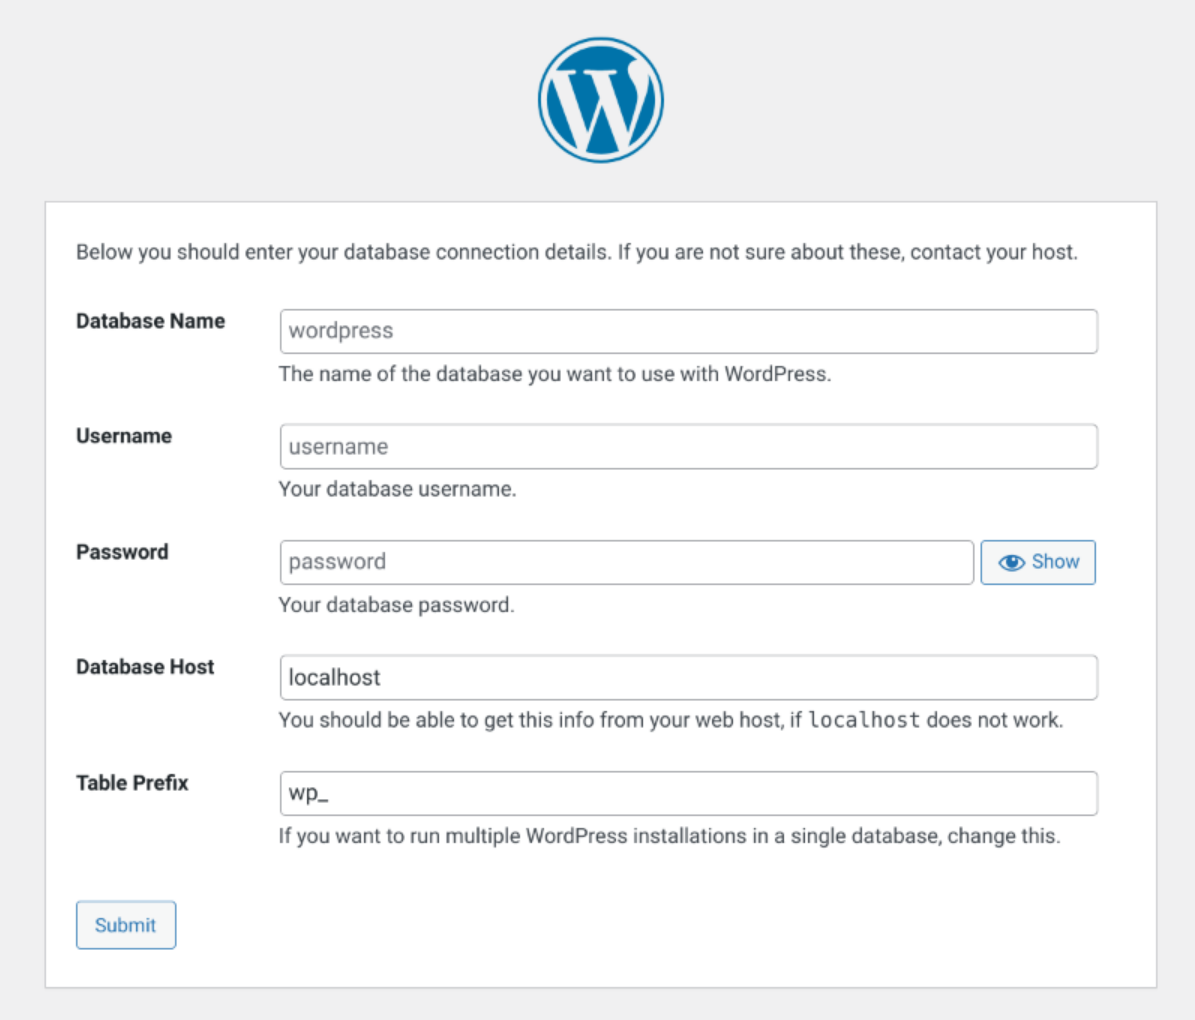
You will reach the setup prompt for Wordpress and you can click through as normal. When you reach the Database settings page. Input your details as follows:
- Database Name: The one you created just previously
- Username: root
- Password: the password you input when installing MySQL
- Database Host: Is the name of the container for MySQL. For me this was mysql
- Table Prefix: Leave this as standard if you wish
If that all runs correctly you will be taken to the login page and inputting your user details created during the Wordpress installation you will be hit with:
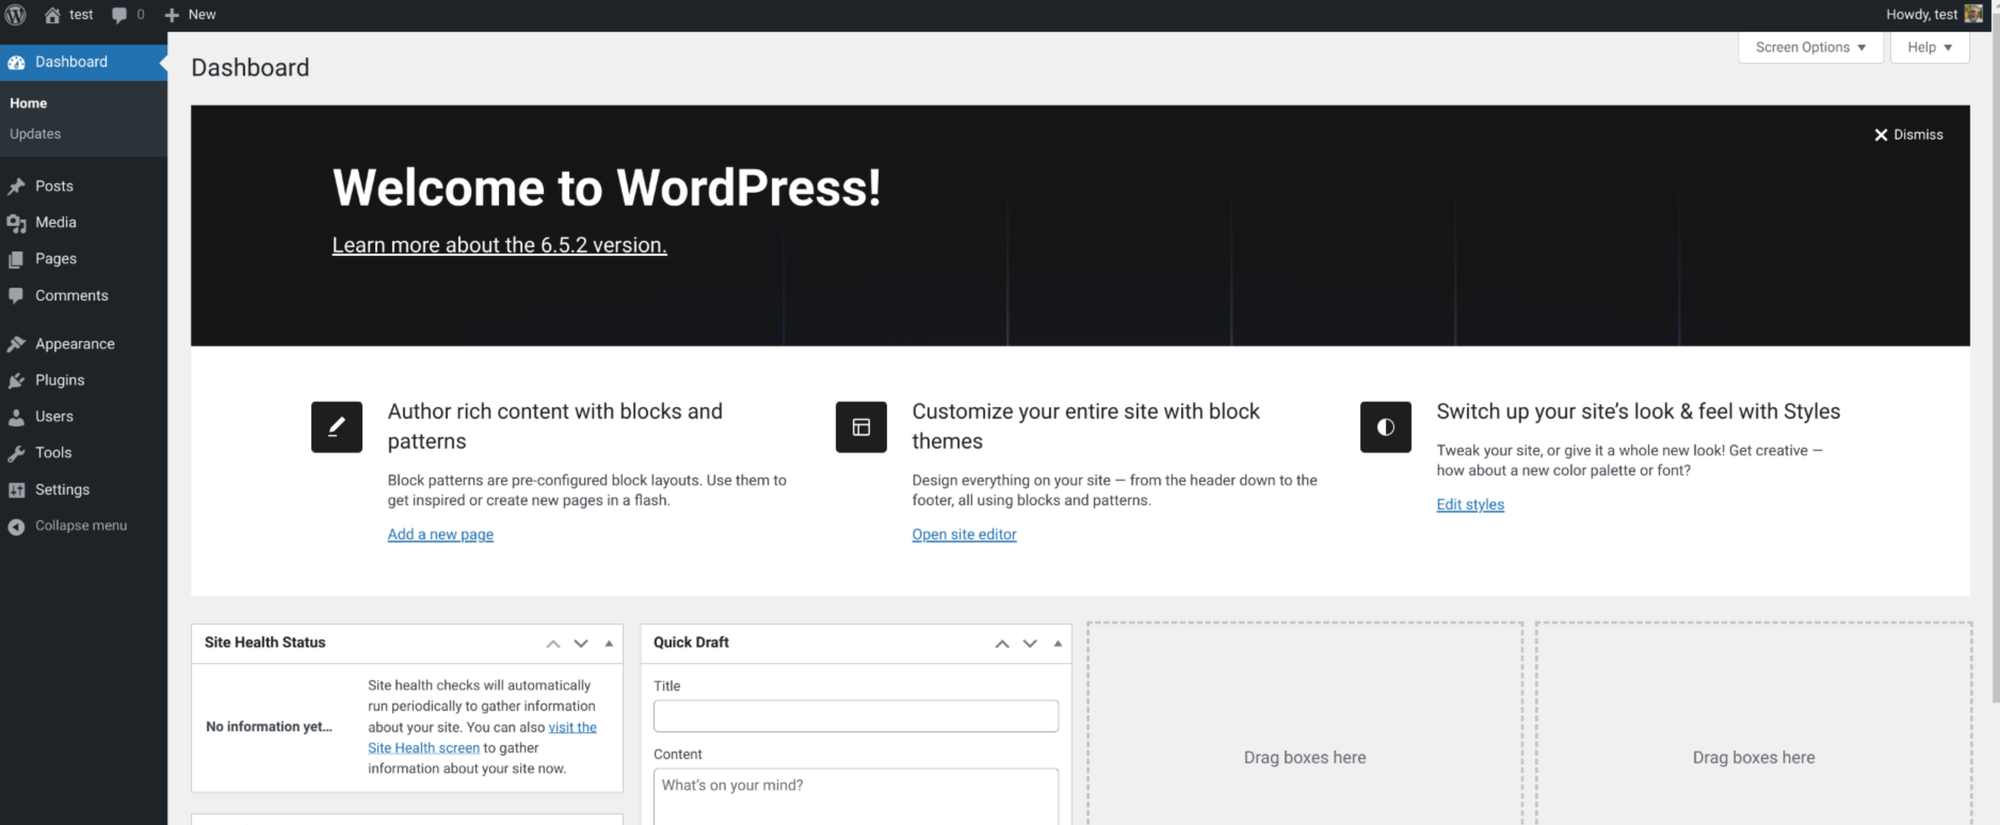
Well done, now you have setup 4 different containers. 3 of which are running within their own network stack.
Please consider supporting my content by subscribing to me here, allowing me to provide easy to follow, step by step tutorials and information for beginners and students of Programming, Networking and IT.
Support Educational Content
All tips to contribute to time and services to provide free and easy to follow content for students and beginners in Programming, Networking, Technology and Homelabs.
Donate